User Guide of Touch NMR
Click the "printer" icon at left of toolbar, the current processing parameters and spectrum will be loaded to the printing system. As shown in figure 10.
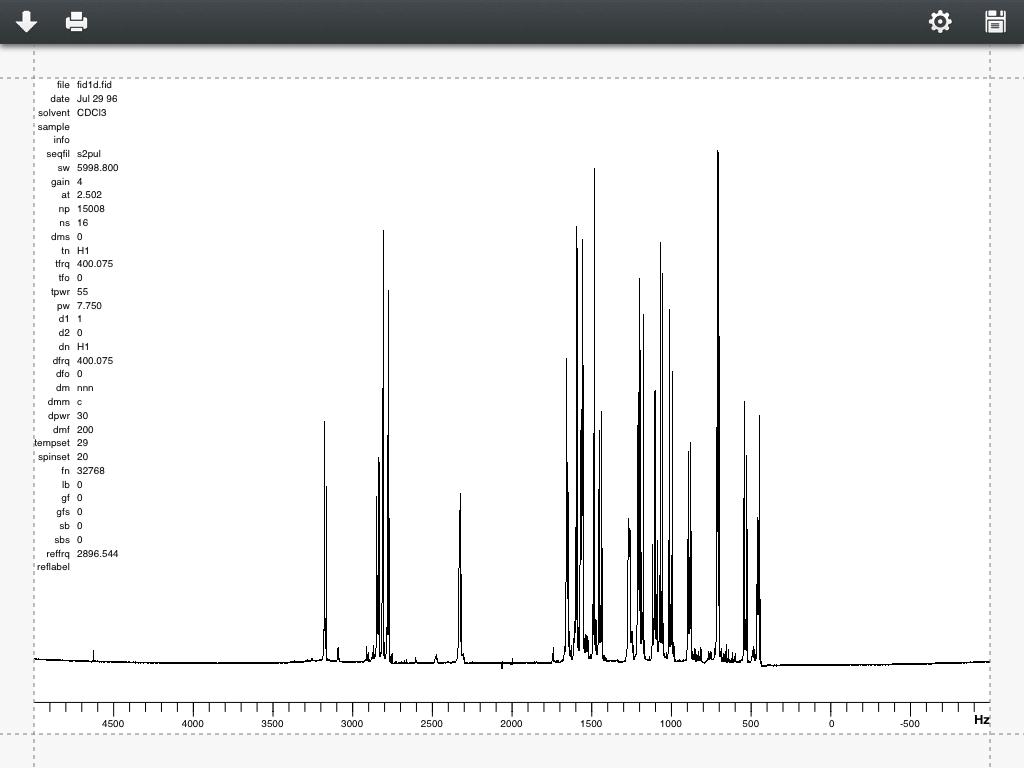
Figure 10
Once in the print control view, click the "printer" icon, it will show the AirPrint system. As shown in Figure 11.
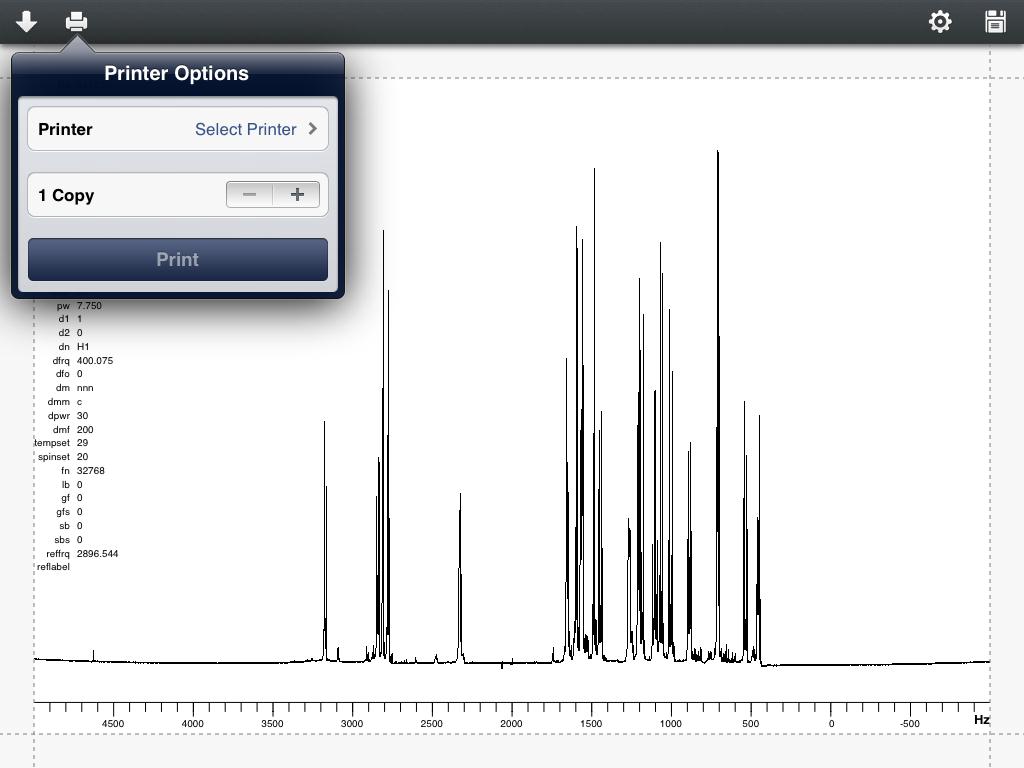
Figure 11
Users can also configure the detail of print parameters. Click the "setting" icon, print setting will show up. As shown in Figure 12.
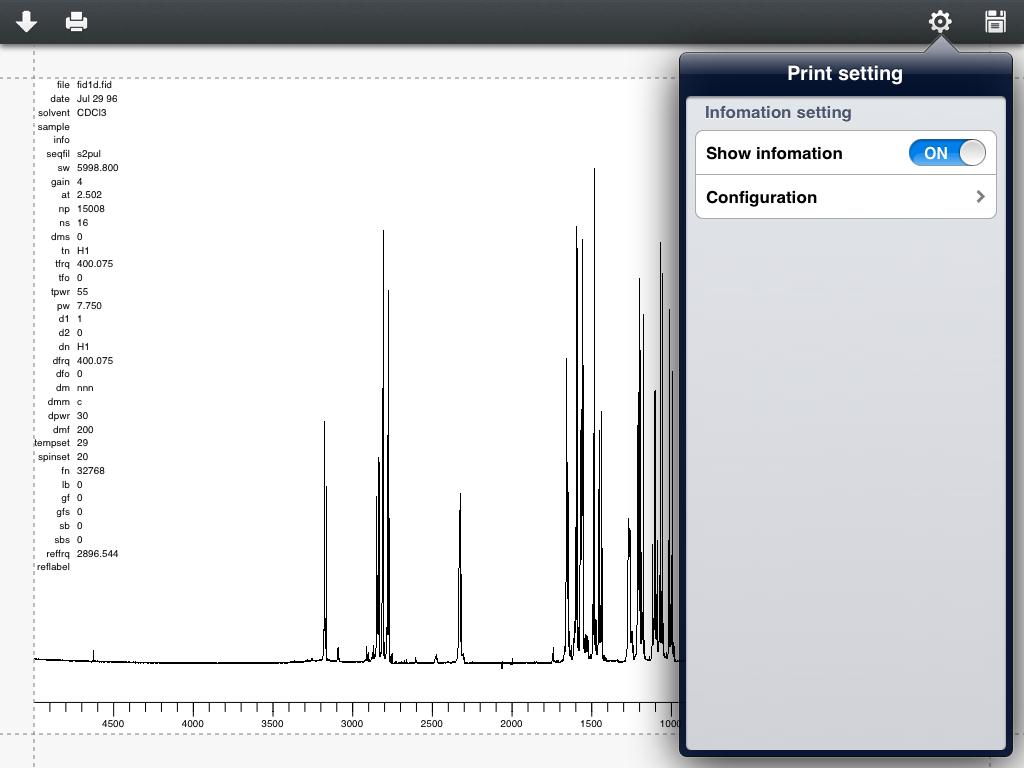
Figure 12
If the users choose to show information, then the row which is for configuring the parameters will appear. Click it to enter the configuration operation. As shown in Figure 13.
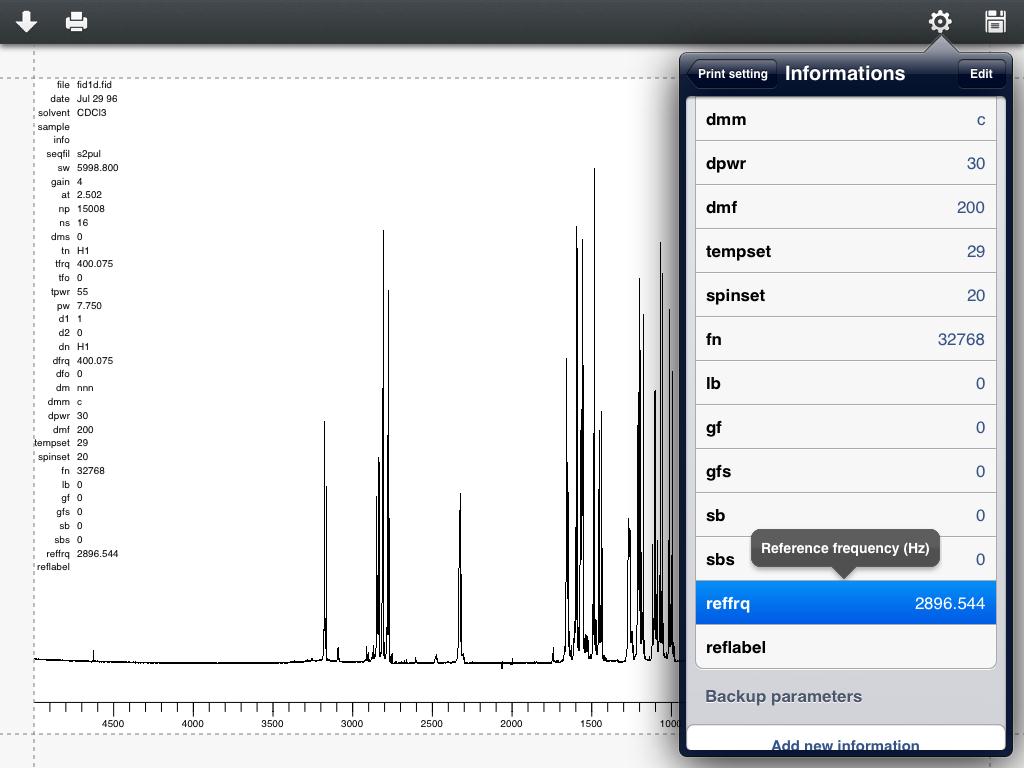
Figure 13
Once in configuration view, when users click "edit" button, a "can be moved" icon will attached to the right side of every row. Hold it until the row pop up, we can move the row to do the position adjustment. There is a "Backup parameters" section at bottom. If the users do not want to print a certain parameter, move this row to "Backup parameters". Click the "Finish" icon at upper right corner, finish editing. If users want to add some custom information, click "Add new information" at bottom and users will enter a new adding information view.
In the printing interface shown in Figure 10, printing information is moveable. Users can press and hold the area of printing information to move.
After finish editing printing related information, users can do "save" operation. As shown in Figure 14.
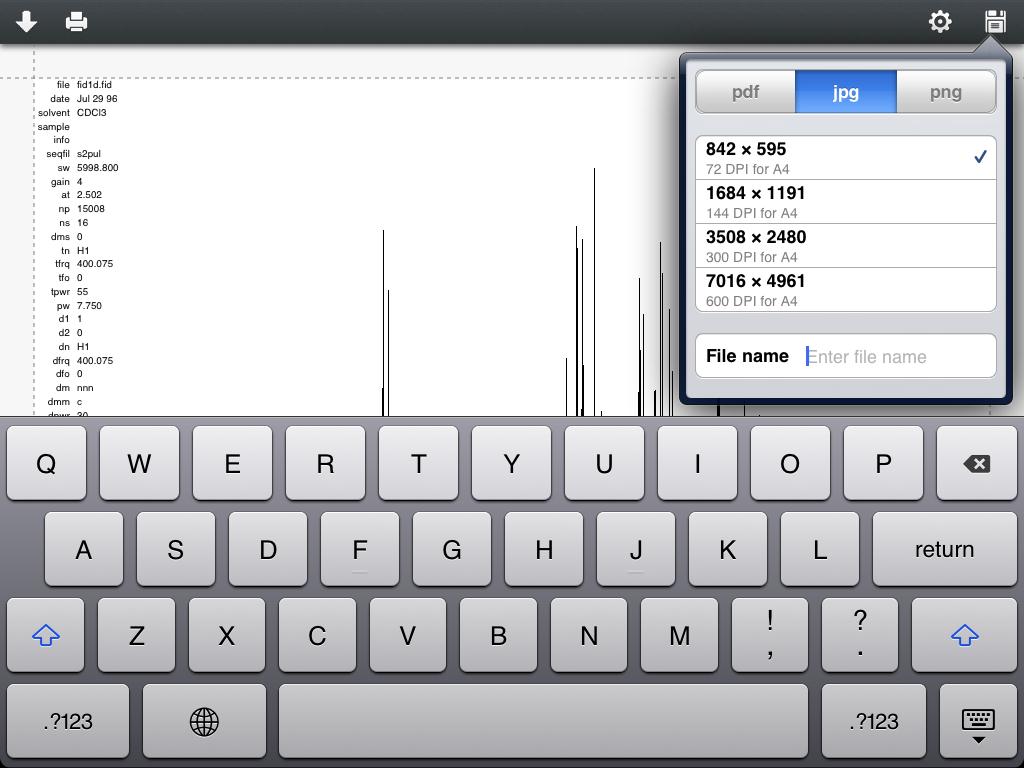
Figure 14
Click "save" icon on the upper right corner, users can choose a favorite file format to save. At present we provide three formats: pdf, jpg and png. For jpg and png storage options, users can choose the size of the pictures. We provide four kinds of resolutions. After naming the file, click the "save" button below, saving job will start at background. According to the choice of the resolution, the saving job maybe last tens of seconds. Please wait with patient. Once saving job is done, the file will show up in "Resource" folder".
Figure 10
Once in the print control view, click the "printer" icon, it will show the AirPrint system. As shown in Figure 11.
Figure 11
Users can also configure the detail of print parameters. Click the "setting" icon, print setting will show up. As shown in Figure 12.
Figure 12
If the users choose to show information, then the row which is for configuring the parameters will appear. Click it to enter the configuration operation. As shown in Figure 13.
Figure 13
Once in configuration view, when users click "edit" button, a "can be moved" icon will attached to the right side of every row. Hold it until the row pop up, we can move the row to do the position adjustment. There is a "Backup parameters" section at bottom. If the users do not want to print a certain parameter, move this row to "Backup parameters". Click the "Finish" icon at upper right corner, finish editing. If users want to add some custom information, click "Add new information" at bottom and users will enter a new adding information view.
In the printing interface shown in Figure 10, printing information is moveable. Users can press and hold the area of printing information to move.
After finish editing printing related information, users can do "save" operation. As shown in Figure 14.
Figure 14
Click "save" icon on the upper right corner, users can choose a favorite file format to save. At present we provide three formats: pdf, jpg and png. For jpg and png storage options, users can choose the size of the pictures. We provide four kinds of resolutions. After naming the file, click the "save" button below, saving job will start at background. According to the choice of the resolution, the saving job maybe last tens of seconds. Please wait with patient. Once saving job is done, the file will show up in "Resource" folder".